Showing posts with label diy. Show all posts

Monday, September 14, 2015

Current Beauty Product Faves...

Hey All! Hope you all had a great weekend. The weather here in NC is gorgeous! Sharing some of my current beauty product faves.

Current Beauty Product Faves

For Body

Crystal Essence Deodorant: Think I finally found a natural deodorant that works. Love the smell and it holds me through a workday. 
Jason Coconut Oil: I can not longer use coconut oil on my hair. My hair has enough protein. Love it for my body. I rub this all over my body while still damp and my skin is soft and moisturizing all day.


For my Face

DIY Rosewater Moisturizer: Love spritzing rosewater on my face. I made my own using rosewater, almond oil and vegetable glycerin. 
Pixi Glow Tonic: Have you tried this? I heard rave reviews about it. Some call it liquid gold. Target now carries it but it sold out fast. I grabbed the last bottle on the shelf at my local Target. It smells great. I apply it to my skin after cleanses.
NYX Jumbo Eye Pencil Lavender: NYX is a great wallet friendly cosmetic line. I love their products especially their lip and eye makeup. I use this jumbo pencil as an eyeliner or highlighter.
Botanics Organic Facial Oil: This is perfect for my dry skin. Does not leave my face oily/greasy looking. 


butter
For Hair

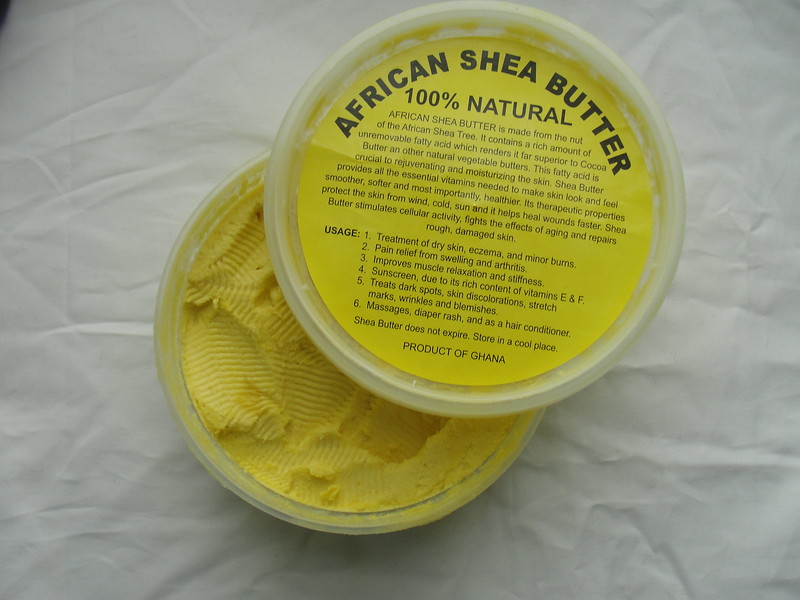
African Shea Butter: I add my own oils to this and apply to my ends as a sealant or whenever my hair needs extra moisturizing. Oils I mix are extra virgin olive oil, almond oil, Castor oil, and rosemary oil. 

What are your current beauty product faves? Have an awesome week!

Friday, September 11, 2015

Lace-Up Pointed Toe Ballet Flats DIY...

Hey All!

 I love shoes. Sandals, boots, sneakers, ballet flats, loafers, pumps, I love them all. Earlier this summer I spotted a pair of lace-up pointed toe ballet flats on Instagram. After further investigation, I discovered they were these, Aquazzura Christy Lace-up flats that retail for $675. I don't care how hard I hustle, I'm not paying $700 for a pair of trendy flats. Moving forward months later and to my surprise one of my fave bloggers, Carrie Bradshaw Lied, did a fabulous lace-up ballet flats DIY blog post. Check it out here.  I just had to try it. Check out my results below.


Materials Needed:
ballet flats
drawing pencil
leather hole puncher
scissors
satin cord 1.5mm (same color as shoes)

Take drawing pencil and mark when you want to make holes for your laces. I made 4, one in front, 2 on sides and 1 in the back. Add 2 more holes to the sides if you want it really lacy. 

Using leather hole puncher, select the right size for your punch. Make sure the hole is big enough for your cord to go through. Squeeze the handles and punch.

Cut about 5 feet of cord for each shoe. Start at the front double the cord and loop through tying a knot. Next, separate the cord and go through side holes from inside of the shoe. Lastly, pull both ends of cord through back hole. 


Wrap around your ankles and tie in the front or back. Snip off excess cord. Total cost $35. 


Cost breakdown:

Shoes - Target $25
Leather Hole Puncher - Michael's $10  50% coupon $5
Satin Cord 2mm - Michael's $4

Way better than $675.


Monday, March 30, 2015

Coachella Necklace DIY...

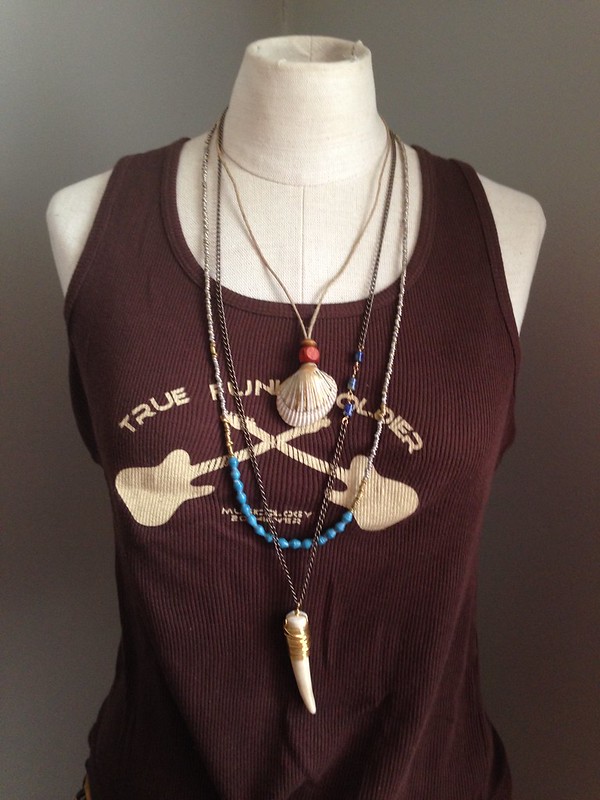
Coachella Valley Music and Arts Festival is all about embracing your inner Bohemian spirit. Fringe, feathers and fedoras are all the rage in the desert during Coachella. Long layering necklaces are also staple accessories at the indie music festivals. Below is a simple and super easy diy necklace for you to wear to the next music festival. It's a great layering piece. Add 2 more necklaces to get the perfect look.


Supplies:

Scissors
Hemp Cord or leather cord
Wood Beads
Shell pendant
Calligrapher paint pen (optional)


Assorted wood beads can be found at your local craft store. I found my seashell at the beach. I always look for shells that have holes in them to use for jewelry design.


Step 1:

Using your calligrapher, paint your seashell. This step is optional. Leave it plain if you like. I added gold lines to give my shell a tribal look.

Step 2:

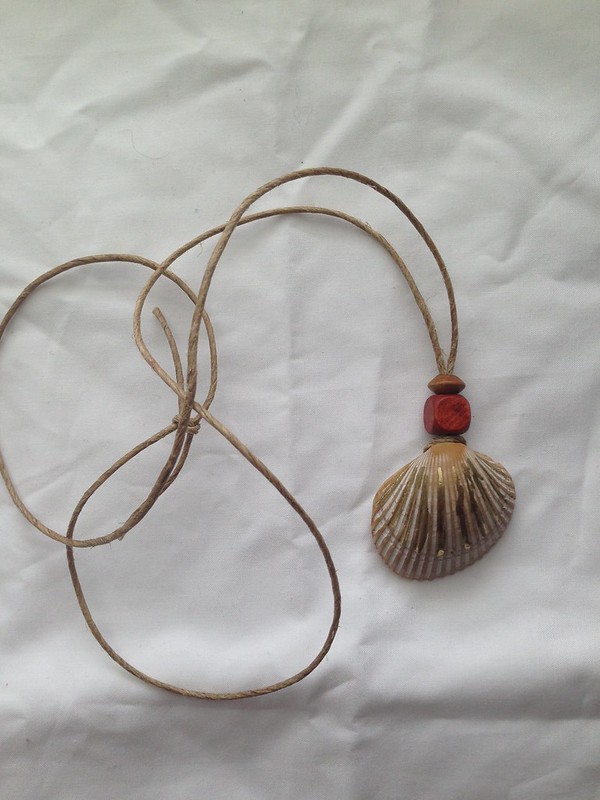
Cut cord long enough so that it slips over your head. I cut mine 34 inches. Fold cord in half and loop through hole in shell.


Step 3:

Pull ends of cord through the loop and pull, securing the shell.


Step 4:

Take your selected beads and slip through the cord as shown above. Pull beads down to meet the shell.


Diy necklace

  Step 5:

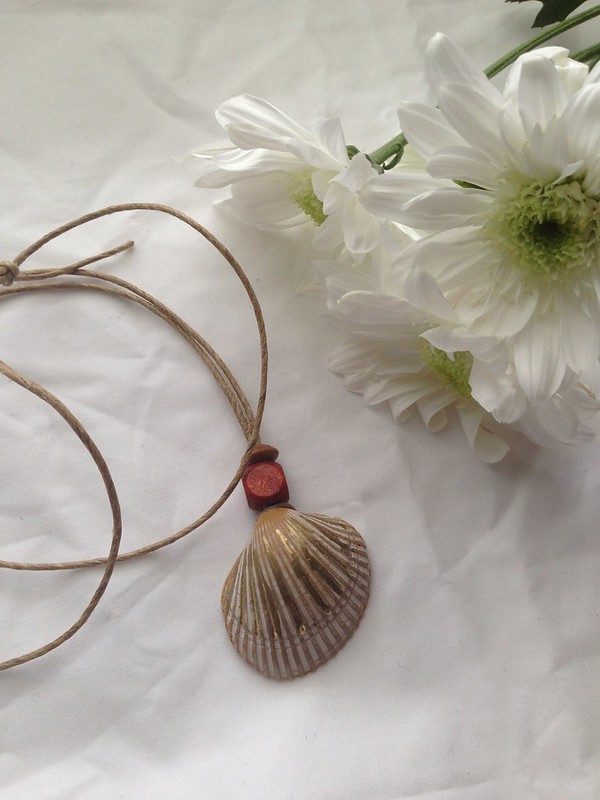
Tie a tight knot at end of cord. Slip over head. Your new necklace is complete. Diy necklace

 Put some flowers in your hair.


Diy necklace

Add 2 more layering necklaces to complete your look! Get long deer antler necklace here

Monday, March 23, 2015

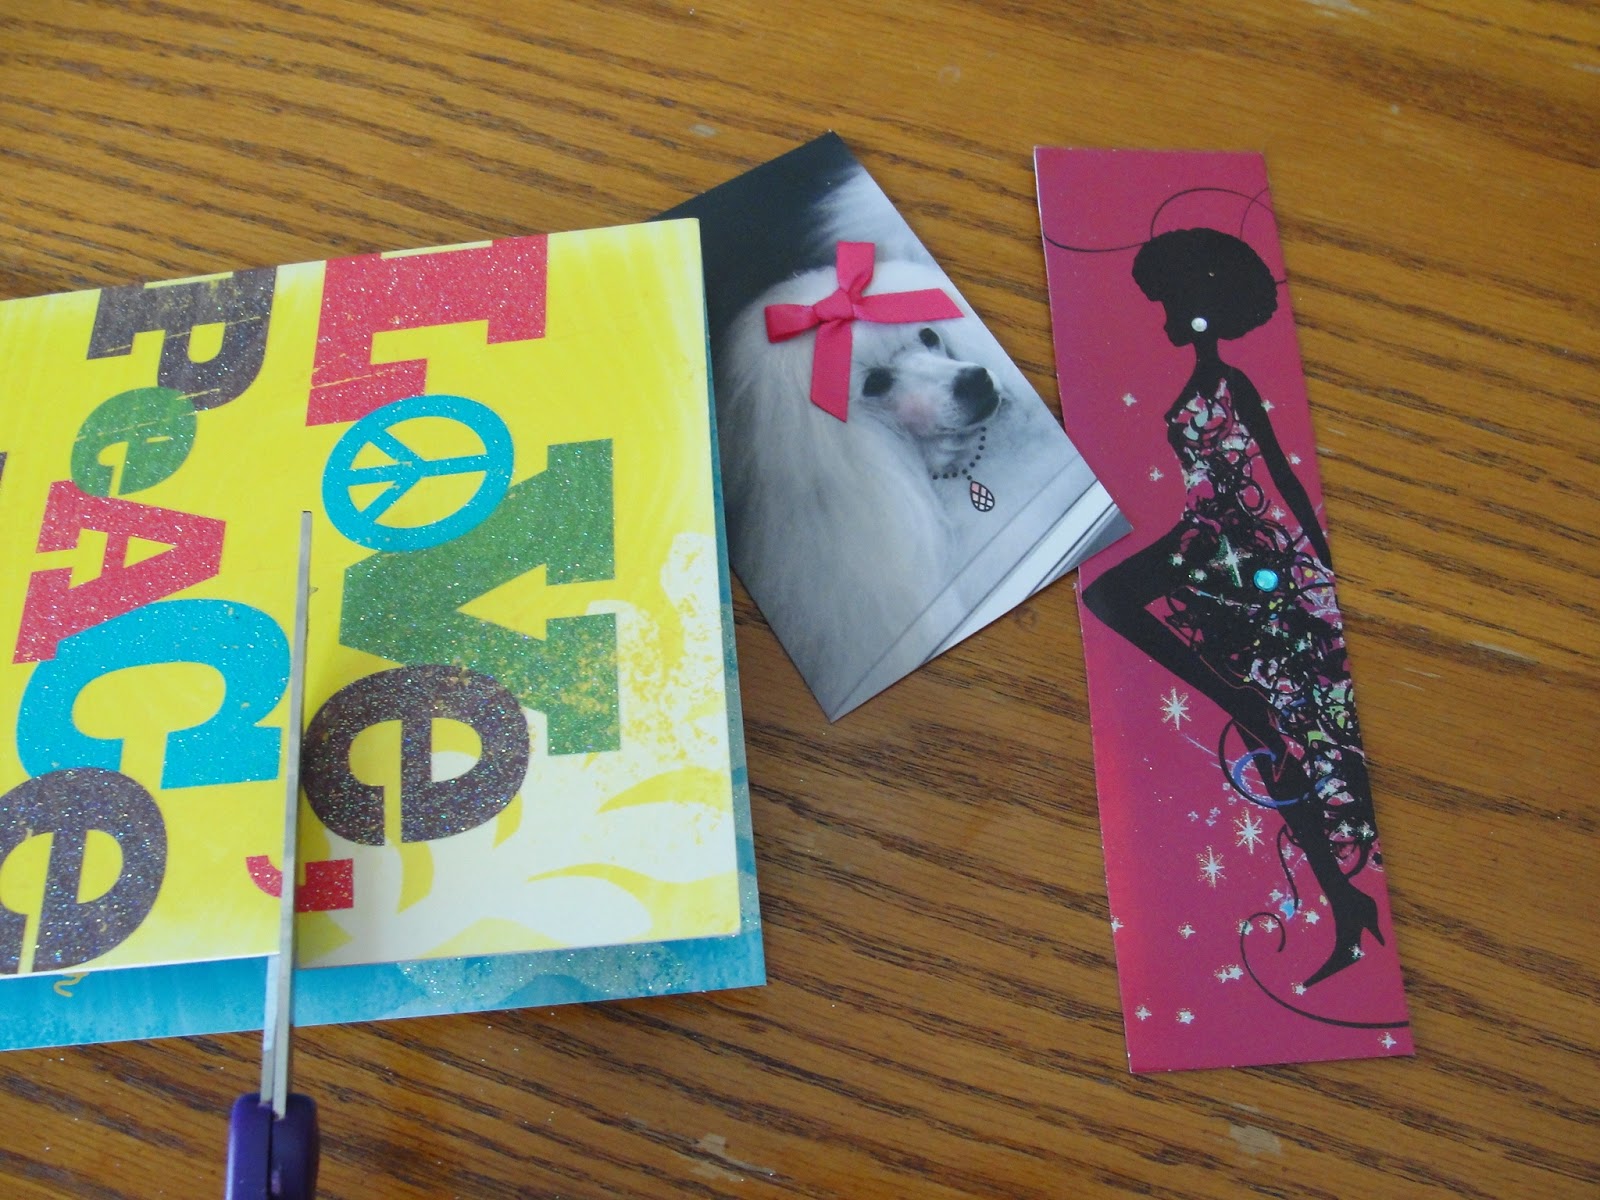
Greeting Card Bookmark DIY

Happy Monday! Did you have a fantastic weekend? Here's a quick and easy DIY project.


What do you do with all of the greeting cards you receive each year? Save? Toss? Keep them up on your mantle until the next wave of greeting cards arrive in your mailbox? I have to admit it's hard for me to throw away the pretty ones. However, they pile up and create clutter. A great way for you to keep some of the best cards is to make bookmarks.


Supplies:
- old greeting cards (preferable with heavy card stock)
- ribbons
- scissors
- hole puncher


Step 1: Cut your bookmark design out of the cards.

It is best to work with the cards that have the heaviest stock. That way they are less likely to bend or tear.


Step 2: Punch a hole at the top of your bookmark.


Step 3: Cut ribbon and loop through hole.


Three easy steps! Happy crafting and reading!

Thursday, May 9, 2013

From Audrey to Punk...

I love it when a DIY project turns out exactly the way you want. Today I punked up my pearl necklace using gold safety pins to look like a Tom Binns statement piece. I got the idea from one of my favorite blogger, HonestlyWTF. It was really easy and fun.

All you need is a pearl necklace and gold safety pins (about 100-125). I used size 7/8 inch. Place a safety pin or two between each pearl. Then go back and connect 4-5 vertical pins with a horizontal one. Now you have a punk pearl necklace. Have a stuffy board meeting you need to attend, no worries just take the pins off and you are back to looking like Audrey.  Below are a few pics of my necklace. Oh, and if you don't want to DIY, you can always shell out a cool $1400 for an original Tom Binns necklace.


DIY Pearl & Safety Pin Necklace. Tom Binns inspired. #pearls #DIY #necklace #punk #TomBinns #safetypins #HonestlyWTF

Monday, July 23, 2012

DIY Denim Cutoffs...

I have been noticing a lot of cute denim shorts lately. This weekend I decided to make my own. I'm not really a shorts wearing person because I'm not a big fan of my thighs. Plus my daughter thinks women over a certain age should only wear shorts that are right above or right at the knee. What are your thoughts about shorts for women over 30, 40, 50? I think you should have fun with fashion, but there are limits. If you have great toned legs, go for it! I got this DIY from the Glamourai.

Get a pair of jeans with a looser fit than you normally wear. I got these Levi's from the thrift store for $3!

Cut the leg off about 3 inches from the inseam. Cut on a slant.

Fold the jeans over and use the cut leg as a pattern. Cut off the second leg.


Cut an inch slit on the front outer seam.

From the top of the slit, cut at an angle towards the inseam as shown above.

Repeat on other side. Make sure the pockets peek a boo in the front.

Run the cutoffs thru a wash and dry cycle to give them a frayed/distressed look. You are done! I will post in a later blog how I rocked mine!